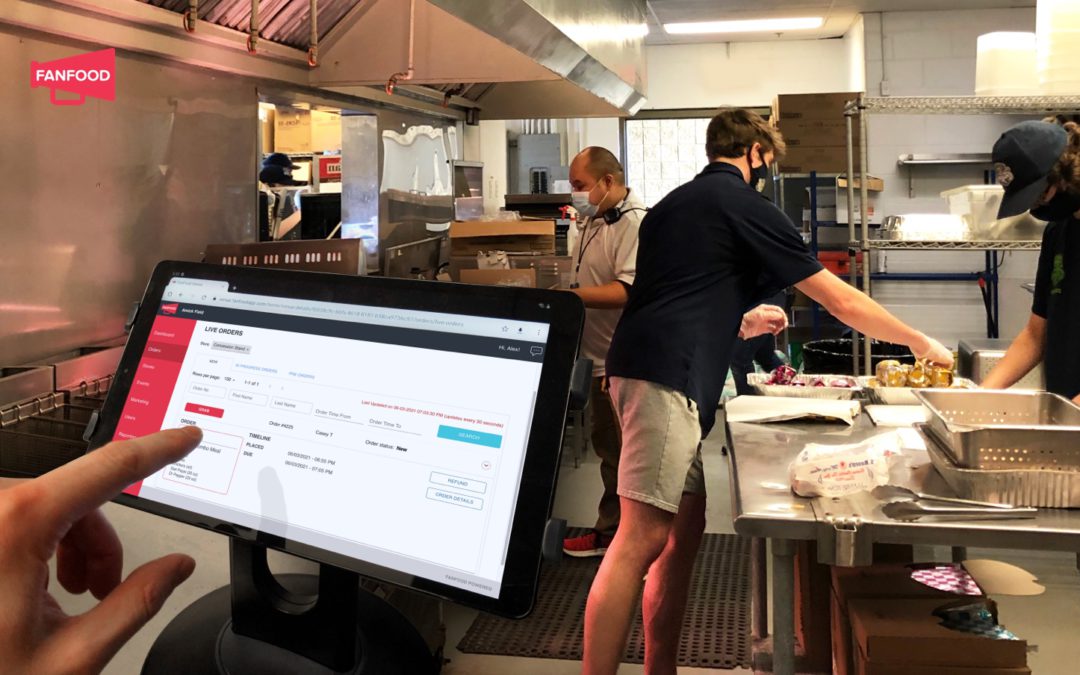
A major reason why food operations use FanFood is that the platform takes care of a lot of the redundant work for you, so that your team can focus on order fulfilment alone. Not only can you save time on order taking and transactions, but also you can leave the inter-kitchen communications to the automatic platform.
In this blog, we’ll break down how order routing works when you need multiple kitchens or pantries to fulfill one order. This is pretty common in scenarios like premium suites, where you might have a hot pantry and a cold pantry, or even in a restaurant setting where food orders come through the kitchen but drink orders come through the bar.
Step 1: Set up fulfillment centers in the Manager Portal
When you set up a “store” in the FanFood Manager Portal, you’re creating a “virtual” physical location which can be one of the following three:
- Regular. This would be your F&B outlet where people can view the menu and place an order.
- Suite Kitchen. This is where suite guests can pre-order meal packages for premium suites, and are only accessible by suite holders.
- Fulfillment Center. Think of this as a pantry where only part of the order needs to be fulfilled at, such as a cold pantry that only serves drinks and snacks, but doesn’t handle main courses.

Please note that fulfillment centers only work for orders that require a server or attendant to bring the order to the customer (in FanFood, this type of orders are referred to as “Delivery” orders). This applies to premium suites or restaurants where there’s typically a server collecting drinks and food from different locations, and bringing the entire order to the suite or table. The reason why fulfillment centers are disabled for pickup orders is that you probably wouldn’t want to have the guest pick up different components of their order from multiple kitchens on their own…
Step 2: Assign menu items to the right fulfillment center
Next up, you want to assign each item on your menu to the corresponding fulfillment center or kitchen. This step is super easy, simply select the correct fulfillment center in a dropdown menu for each menu and you’re good to go. This is how FanFood remembers which item should be routed to which location to be prepped.

Step 3: Prepare only food assigned to your fulfillment center
When an order comes in, the main kitchen will be able to see the entire order, as well as which portion of the order is assigned to which fulfillment center. Each fulfillment center will only see the portion of the order they’re responsible for as highlighted, whereas the rest of the order is greyed out.

As each fulfillment center hits “GRAB” to start the prep — and send the order to the “IN PROGRESS” tab in the Manager Portal — the kitchen is able to see the progress at each fulfillment center.
And of course, you can automatically print out order receipts as they come in, and have a print-out record of the order details — just in case.
This automatic order routing process greatly simplifies the operations for your team. You no longer need a server running between different pantries with a print out receipt to communicate the orders and check on the progress. All updates and details are reflected in real time within the Manager Portal. As long as you have a tablet at each fulfillment location, your team will have everything they need at their fingertips to complete an order.
To see a full demo and other capabilities on FanFood, fill out the form below to get in touch with our team!


Recent Comments